


since there are so many ways to attach a liner to a hat, I thought some of you might find it helpfull to read how I do it.
I do not take any responsability for injuring your fingers nor any other body parts and / or ruining the liner with your blood and sweat, so do this on your own risk
Ok, you'll need the following:
1. a liner that fits your hat, preferable one that is a bit taller than the crown,
2. a thin thread in a matching color,
3. a thin needle,
4. a pair of scissors,
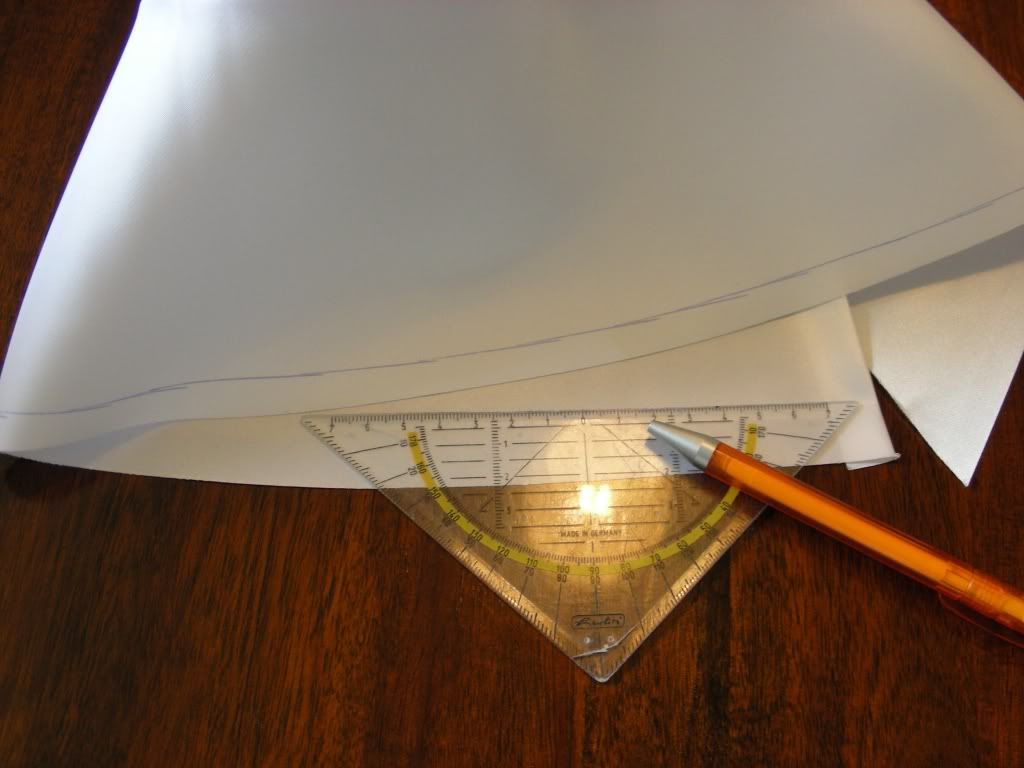
5. a set square and
6. a pen.
Uncrease the hat and place the liner into the crown opening, so it's sticking out equally all the way around. Measure how much you need to cut off in order to make the liner fit.
Now, take your set square and a pen and draw a line all the way around, indicating where you have to cut the liner. I recommend doing this on the side that you don't see, when the liner is sewn in.
You should now have something like this:
Take you pair of scissors and carefully cut along the line. Then place the liner back into the hat where you want it, make sure it's all equal and then flip the sweatband over the liner.
Now you can start sewing it. Take a long piece of thin thread (approx. 1 yard) and put in a couple of knots, round about two inches from one end. Add the needle to the other end.
Start at the back of the liner and make the first stitch, approx. 3-5mm. Don't go all the way through the felt, just into the felt and out again. The actual stitch in the felt is only 1-2mm long.
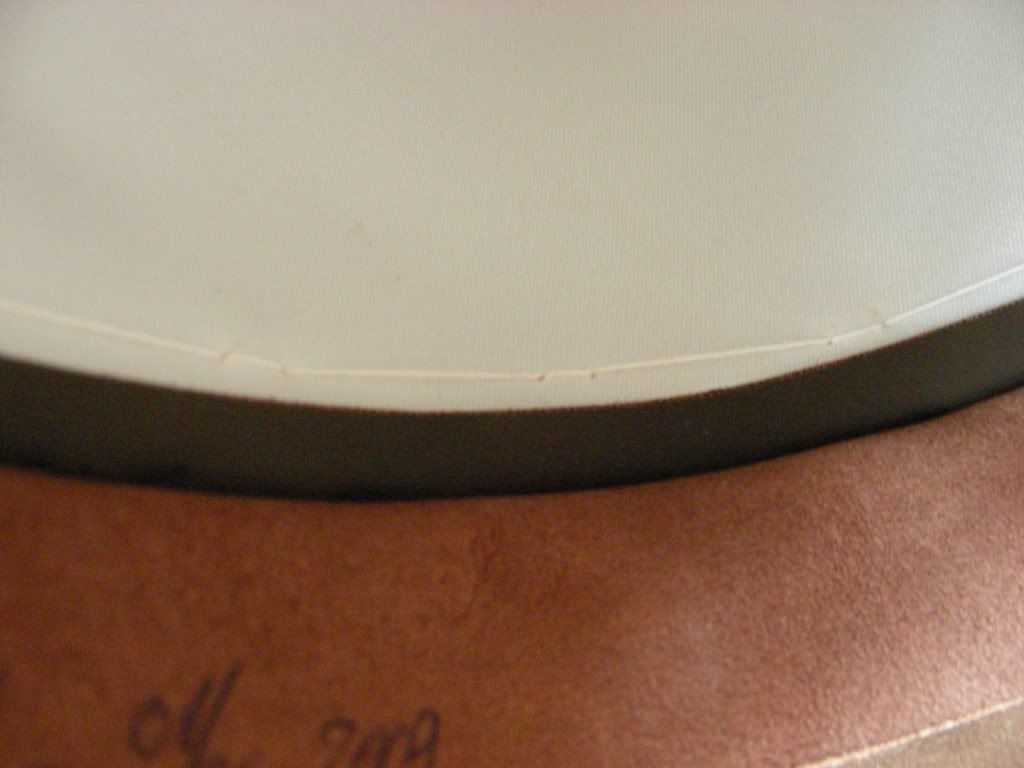
Ok, now go back to the very first hole you made and redo the very first stitch, so you can see the thread on the visible side of the liner as well. You then set your next stitch approx. 1.5" from wher you came out with your needle and do the 3-5mm stitch again, which you repeat so you have a solid thread line visible. Be careful not to move up and down while stitching. This can be a bit tricky, as you want to get a straight line on a curved liner, however the good thing is, that you'll see if you're sewing straight or not very fast. If you don't like your last stitch, just pull the needle out of the thread, pull the thread back and redo it.
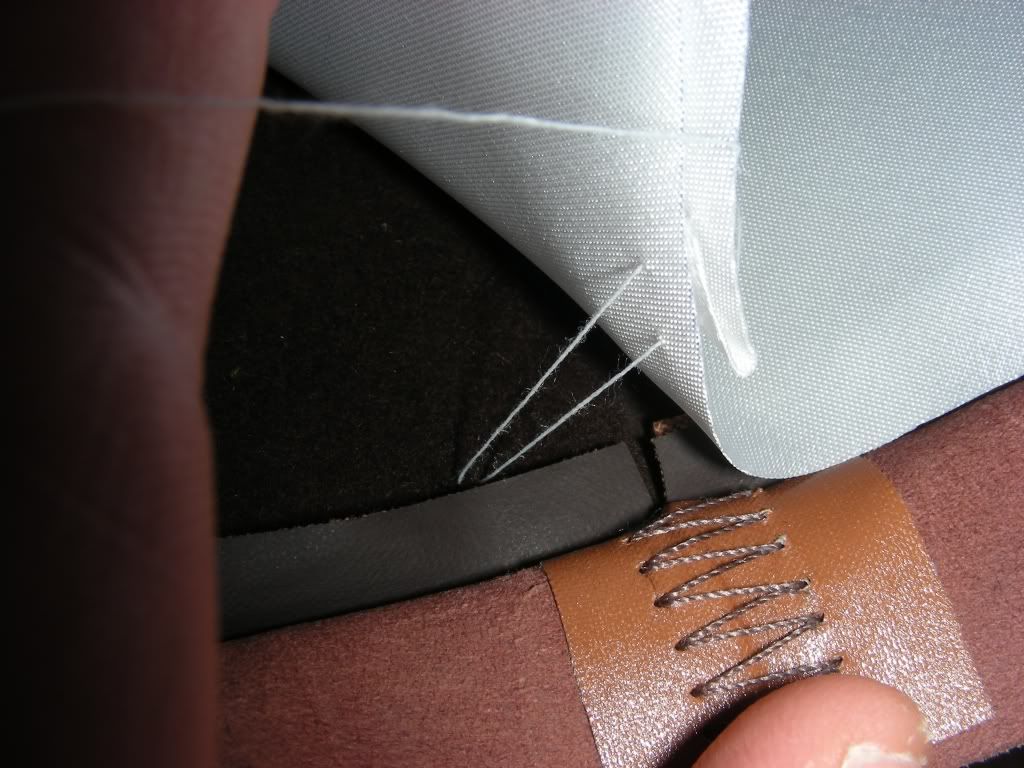
You should soon have something like this:
Once you get back to the back of the sweatband, finish of with a 3-5mm double stitch again and put a double knot into the thread.
I don't know with you guys, but I can't control the needle when using a finger guard, so my fingers constantly look like this:

With a little practice, you should be able to do this within 30-45 minutes.
Happy sewing,
Marc
