Distressing photos....Enter at own risk. (Hero project)
Posted: Fri Jan 24, 2014 11:49 pm
Hi all.....
Well....I'd been building up to it for a while now....But I'd always loved the gradation of colours I'd seen from people whose jackets were either old enough to show wear well, or had been run through the sandpaper line some...And yesterday, I decided that I really could use a new project to keep my busy during winter this year...
So, I decided to buy some fine grit sandpaper, and see what happened....The results I've gotten, so far, are rather good I feel, so I wanted to share some of the better photos I'd gotten last night...
This is the result of 3+ hours of slow work, using various paper grits, in small strips of about a centimetre wide and about 5 long, to ensure that I can hit just the spots that I wanted to wear out, and no others...It took a long time, but it seems to have worked decently I think...(Apologies to Michaelson for this...I know this is heresy, but.....It DID pay off..)
I started with lower numbers...160 grit paper to take the top off the leather a touch..Then, using 2000 and 4000 grit, I reinforced the sections that I was working on, to make sure it wasn't just single lines of "damage", but a whole "worn in" area....The 4000 doesn't really do much, except work into the fading already in place, so the 2000 grit was used more to reinforce the stronger faded areas, then I'd lightly go back over the area with the 4000 cloth...
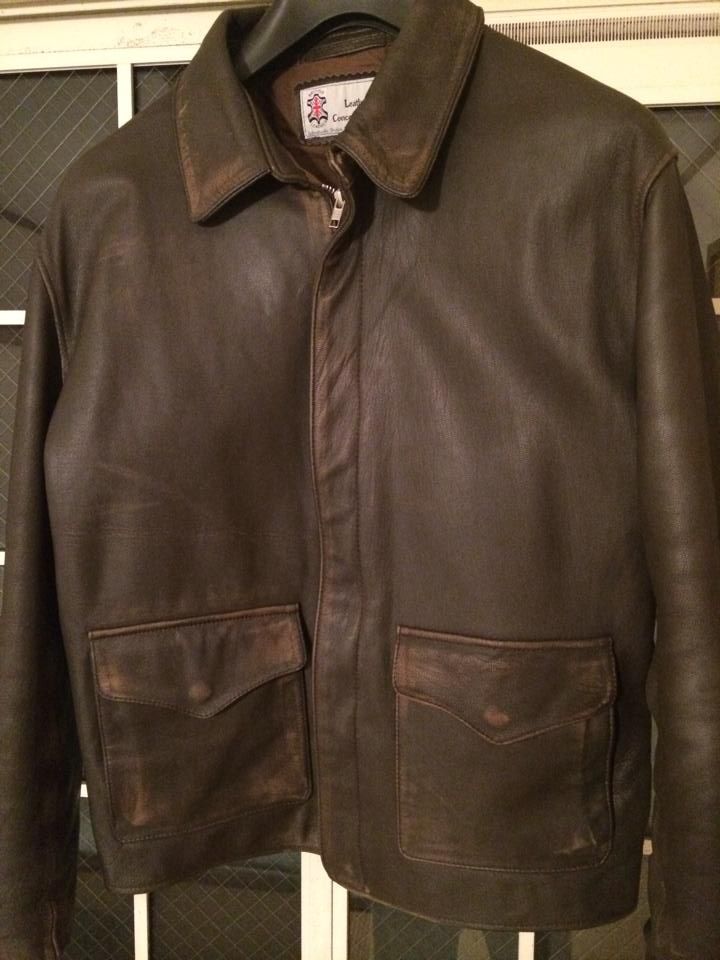
I focused on areas that I'd consider get most use in my other jackets....The lower seams, the pocket flaps and hip area, the straps and buckles, and the shoulders, and then using the 2000 I went back over the elbows, shoulders, and chest area lightly...This seems to have done what I wanted to do, and has given the jacket a rather decent "well worn" look in the areas I wanted....I was worried it was a touch "too much", so I went very slow, and very soft, using the movie as a rough guide to what look I wanted....(Although I don't think the movie was "realistic" in the zones they faded either....It seems a touch more random, more for look than "reality"...No bad thing, but I wanted a good mix between them both)..
Once I felt I was "done" for the night, after about 3 hours, I laid the jacket out, and Pecarded the whole thing again before hanging it up to dry overnight and today in the sun....
I'll see what that leaves me with once the Pecards is absorbed, but I'm happy with the effect as it stands, and also a touch worried about overdoing it....The "hook" is easy to "sink in"....And I wanted to watch that..Enough is enough..
I'd welcome any other ideas and places to work on! I may, I may not do more....But this is all from last night's initial foray.....Let me know what you think? (Except Michaelson, cause...I KNOW what you think mate...And apologies..
 And joking...I'd still welcome your help Sir...
  )
)
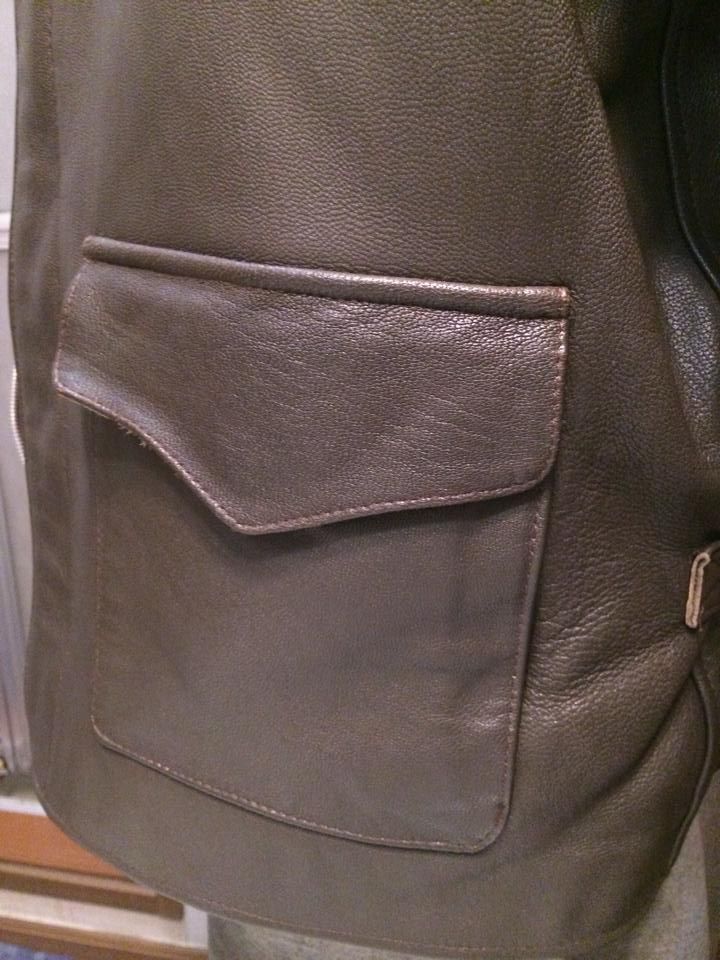
Pocket before I'd worked on it to compare the changes
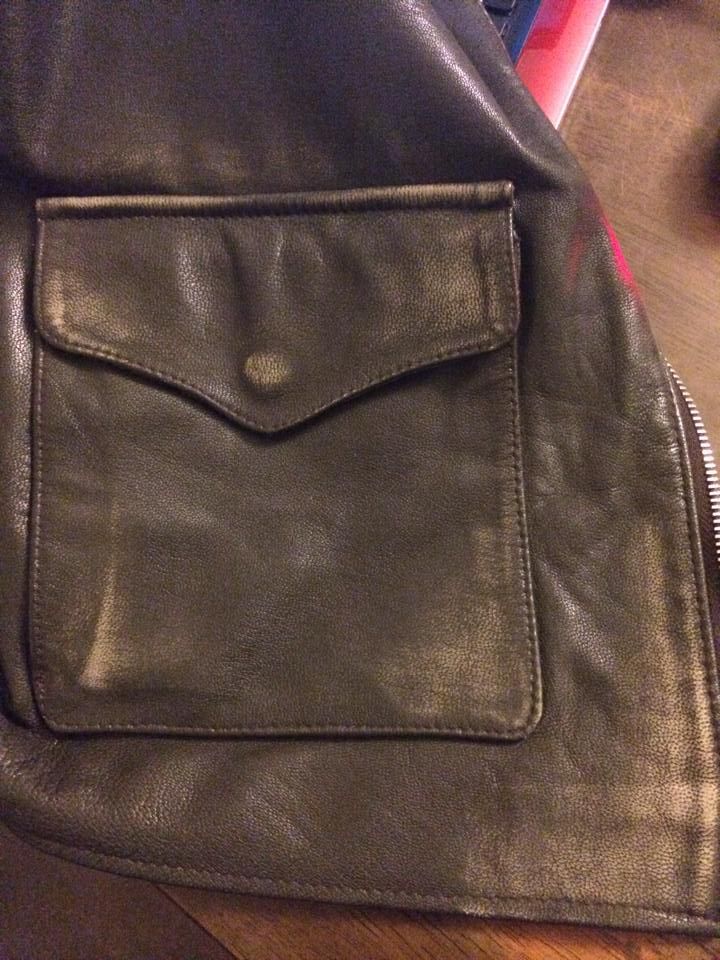
How it ended up..
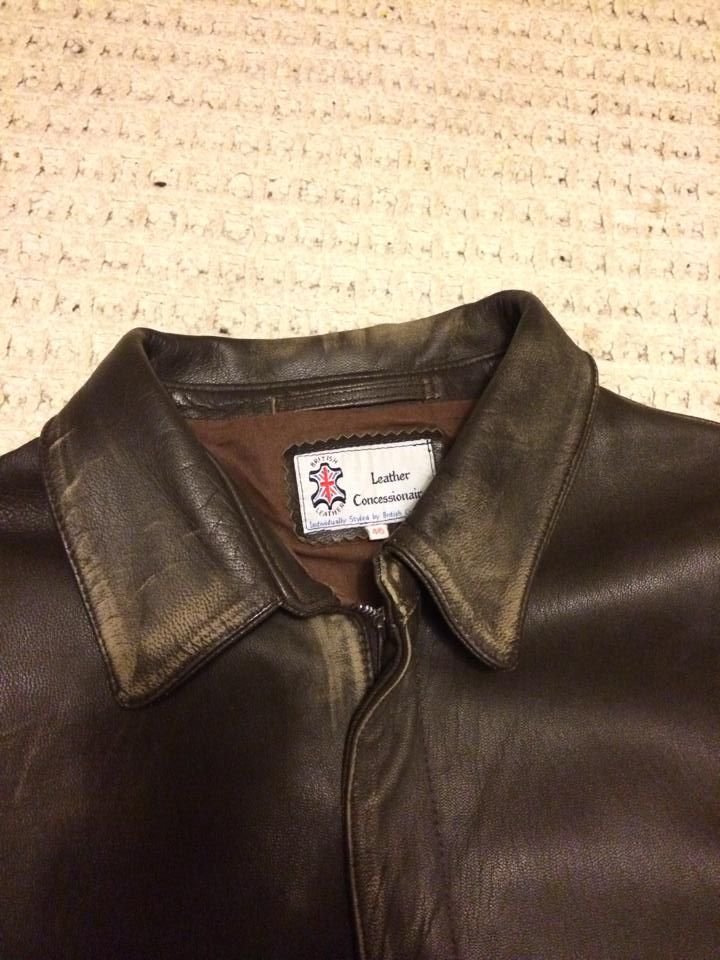
The collar front
Front of the jacket before Pecards application
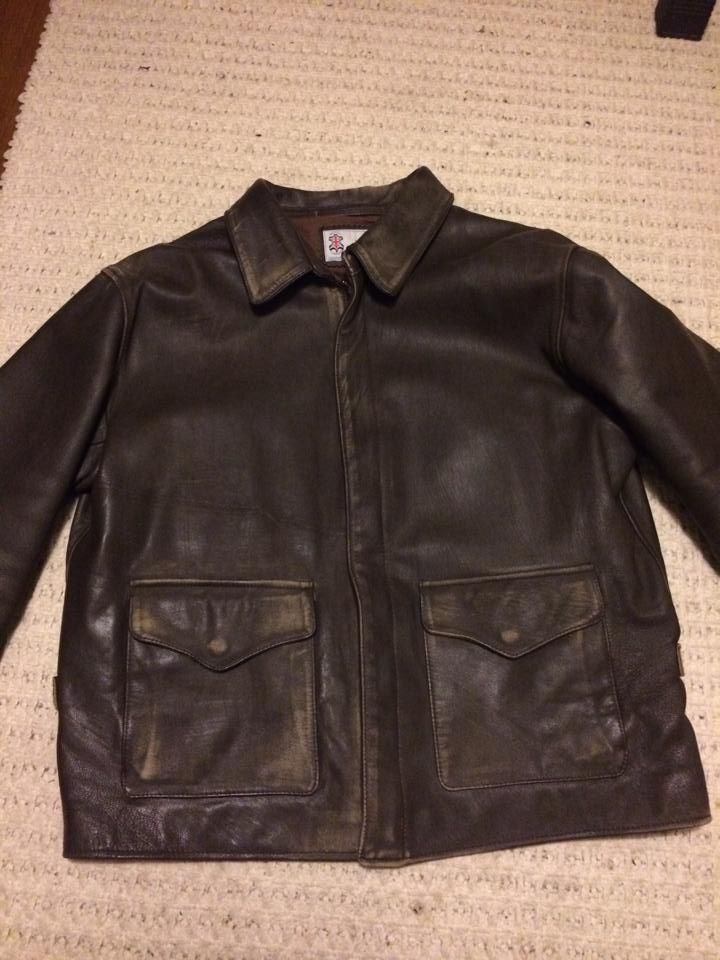
The front after the Pecards..
The back after a decent Pecards bath...
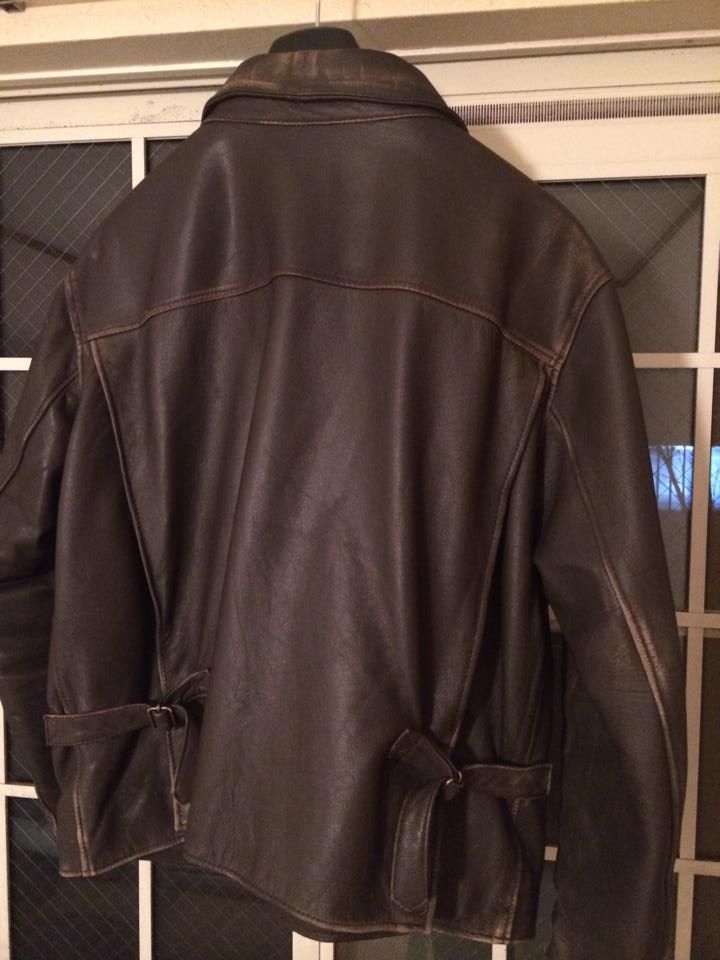
Let me know what you all think....I suspect it's just about right, Holt suggested some more work on the back too, and I might do so....But any ideas are more than welcome!
Warm regards...
Well....I'd been building up to it for a while now....But I'd always loved the gradation of colours I'd seen from people whose jackets were either old enough to show wear well, or had been run through the sandpaper line some...And yesterday, I decided that I really could use a new project to keep my busy during winter this year...
So, I decided to buy some fine grit sandpaper, and see what happened....The results I've gotten, so far, are rather good I feel, so I wanted to share some of the better photos I'd gotten last night...
This is the result of 3+ hours of slow work, using various paper grits, in small strips of about a centimetre wide and about 5 long, to ensure that I can hit just the spots that I wanted to wear out, and no others...It took a long time, but it seems to have worked decently I think...(Apologies to Michaelson for this...I know this is heresy, but.....It DID pay off..)
I started with lower numbers...160 grit paper to take the top off the leather a touch..Then, using 2000 and 4000 grit, I reinforced the sections that I was working on, to make sure it wasn't just single lines of "damage", but a whole "worn in" area....The 4000 doesn't really do much, except work into the fading already in place, so the 2000 grit was used more to reinforce the stronger faded areas, then I'd lightly go back over the area with the 4000 cloth...
I focused on areas that I'd consider get most use in my other jackets....The lower seams, the pocket flaps and hip area, the straps and buckles, and the shoulders, and then using the 2000 I went back over the elbows, shoulders, and chest area lightly...This seems to have done what I wanted to do, and has given the jacket a rather decent "well worn" look in the areas I wanted....I was worried it was a touch "too much", so I went very slow, and very soft, using the movie as a rough guide to what look I wanted....(Although I don't think the movie was "realistic" in the zones they faded either....It seems a touch more random, more for look than "reality"...No bad thing, but I wanted a good mix between them both)..
Once I felt I was "done" for the night, after about 3 hours, I laid the jacket out, and Pecarded the whole thing again before hanging it up to dry overnight and today in the sun....
I'll see what that leaves me with once the Pecards is absorbed, but I'm happy with the effect as it stands, and also a touch worried about overdoing it....The "hook" is easy to "sink in"....And I wanted to watch that..Enough is enough..
I'd welcome any other ideas and places to work on! I may, I may not do more....But this is all from last night's initial foray.....Let me know what you think? (Except Michaelson, cause...I KNOW what you think mate...And apologies..
Pocket before I'd worked on it to compare the changes

How it ended up..

The collar front

Front of the jacket before Pecards application

The front after the Pecards..

The back after a decent Pecards bath...

Let me know what you all think....I suspect it's just about right, Holt suggested some more work on the back too, and I might do so....But any ideas are more than welcome!
Warm regards...