reversal reblock
Posted: Sun Feb 26, 2012 12:25 pm
I’ve been meaning to get to this for a while, and finished it last night. It’s a front-to-back (or back-to-front) conversion.
I had gotten this Fed III in well-used condition about a year and a half ago. It’s amazingly comfortable. It seemed to have been rebuilt when I got it because the liner has no markings of any kind (Akubra has their label in the top of the liner). The sweat band is also amazingly comfy. I don’t know if it’s because it’s the Deluxe sweat, or just a really good replacement.
The felt is worn pretty well in a few places on the hat, at the brim break, and at the top of the front pinch in particular. I don’t handle my hats by the pinch because I know what that can do to them.
A couple of months ago, the felt at the top of the front pinch was at that point where it was just a hair’s breath from forming a small hole. I put the hat away and made a point to do a reversal. I finally did it this weekend.
Normally, when I do a reblock, if the sweat is okay I just remove the liner, fold the sweat down, and wet the hat and slide it onto the block. Since I was reversing the direction of the hat, I removed the sweat, too.
On this hat, I wanted to try a trick I read about here to force a little more mushrooming so I pulled the ribbon very tight as I sewed it into place, then sprayed the whole hat down with water and let it dry over night. The ribbon shrunk up just a bit and gave the top a little extra mushrooming.
I used new ribbon that's not as dark as the original, but it looks good, if not terribly accurate. But that's okay, I'm the 'screen-reminiscent' guy.
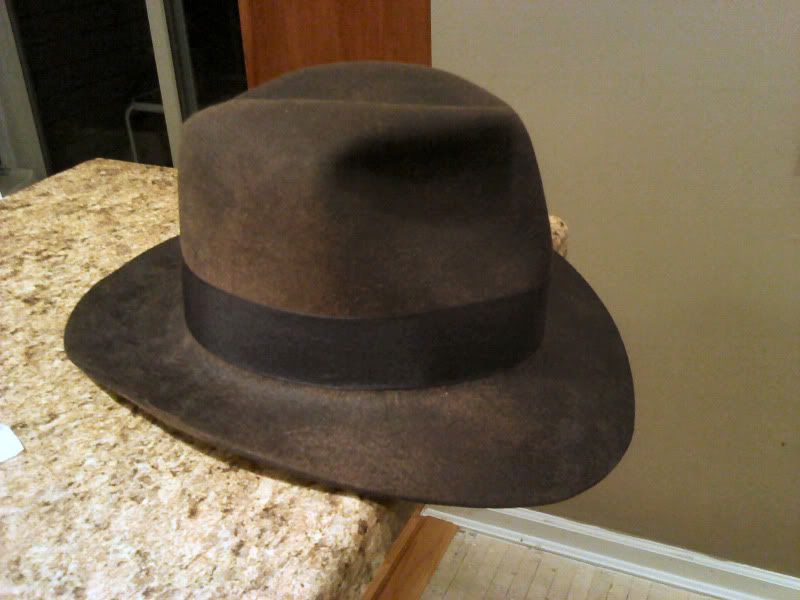
Here’s the front. It’s wet here as I had just sprayed and put the final tweaks into the bash.
Here’s a side view.
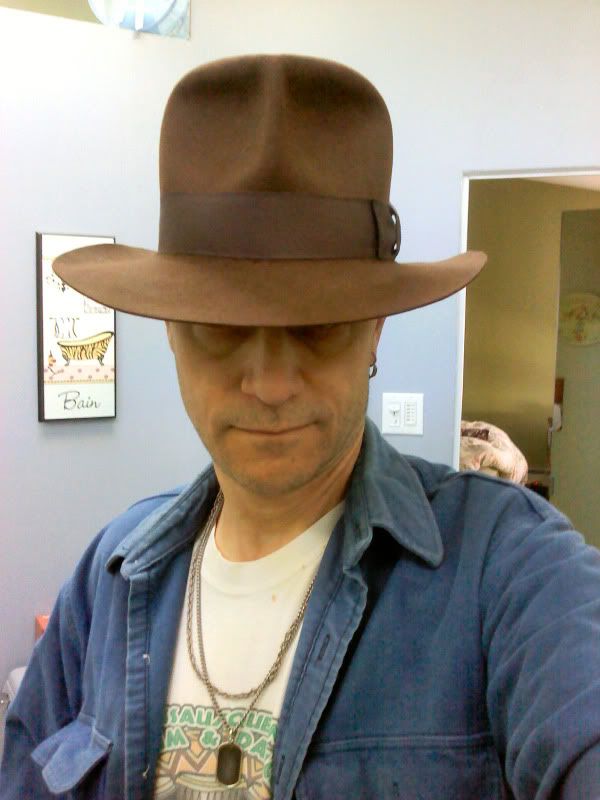
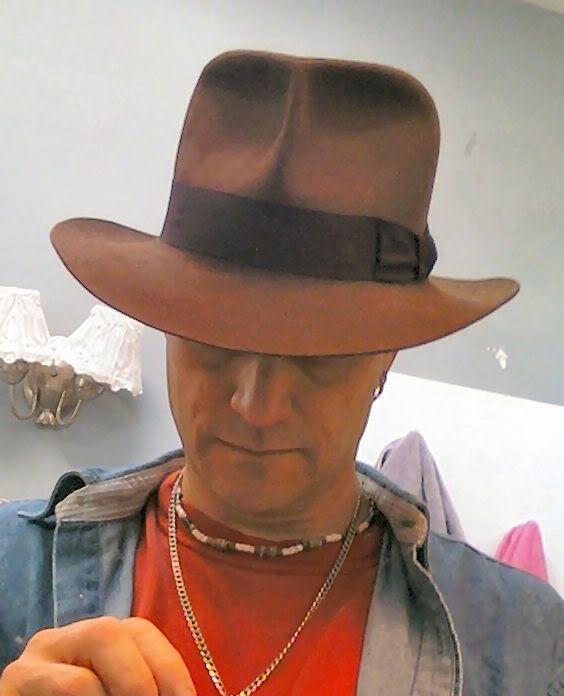
The dry hat, on my head the next day. You can see the mushrooming, and get a better idea of the color of the ribbon in relation to the hat:
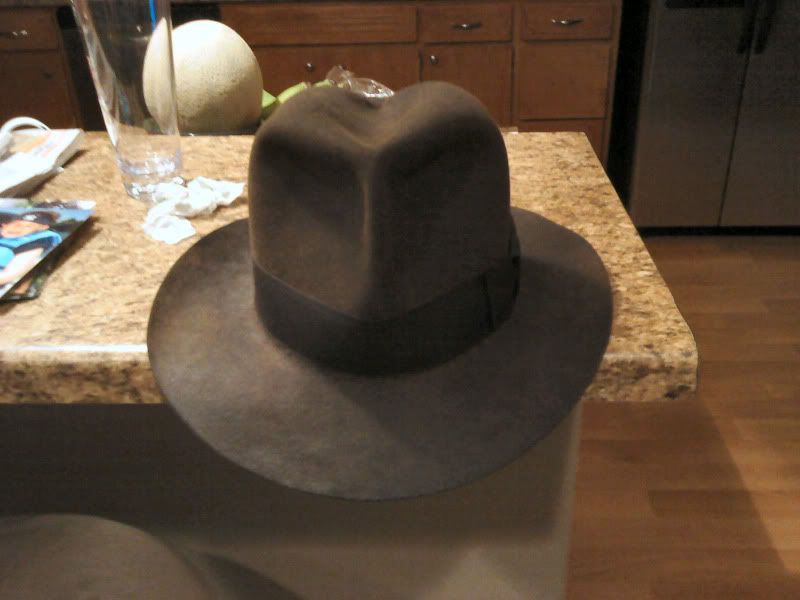
And before the reblock, old front in the front. You can see how blocky the crown was:
It still feels like it did before the reblock, but to me looks markedly different. I'm very happy with it.
I had gotten this Fed III in well-used condition about a year and a half ago. It’s amazingly comfortable. It seemed to have been rebuilt when I got it because the liner has no markings of any kind (Akubra has their label in the top of the liner). The sweat band is also amazingly comfy. I don’t know if it’s because it’s the Deluxe sweat, or just a really good replacement.
The felt is worn pretty well in a few places on the hat, at the brim break, and at the top of the front pinch in particular. I don’t handle my hats by the pinch because I know what that can do to them.
A couple of months ago, the felt at the top of the front pinch was at that point where it was just a hair’s breath from forming a small hole. I put the hat away and made a point to do a reversal. I finally did it this weekend.
Normally, when I do a reblock, if the sweat is okay I just remove the liner, fold the sweat down, and wet the hat and slide it onto the block. Since I was reversing the direction of the hat, I removed the sweat, too.
On this hat, I wanted to try a trick I read about here to force a little more mushrooming so I pulled the ribbon very tight as I sewed it into place, then sprayed the whole hat down with water and let it dry over night. The ribbon shrunk up just a bit and gave the top a little extra mushrooming.
I used new ribbon that's not as dark as the original, but it looks good, if not terribly accurate. But that's okay, I'm the 'screen-reminiscent' guy.
Here’s the front. It’s wet here as I had just sprayed and put the final tweaks into the bash.
Here’s a side view.
The dry hat, on my head the next day. You can see the mushrooming, and get a better idea of the color of the ribbon in relation to the hat:
And before the reblock, old front in the front. You can see how blocky the crown was:
It still feels like it did before the reblock, but to me looks markedly different. I'm very happy with it.