MikeMac,
I apologize for the delay in getting back to you. I'm from Tampa Fl, and the hurricane has made this week a little crazy. I have made a couple blocks and I am just going to be honest and say I may or may not of done it all correctly but in the end I have been able to successfully reblock and make hats from scratch with them. I'm going to point you to this thread which was really good and since I pretty much followed this process. Most of the steps were pretty much the same. (
http://www.indygear.com/cow/viewtopic.php?t=20997). Also this thread was super helpful as well (
viewtopic.php?t=27053).
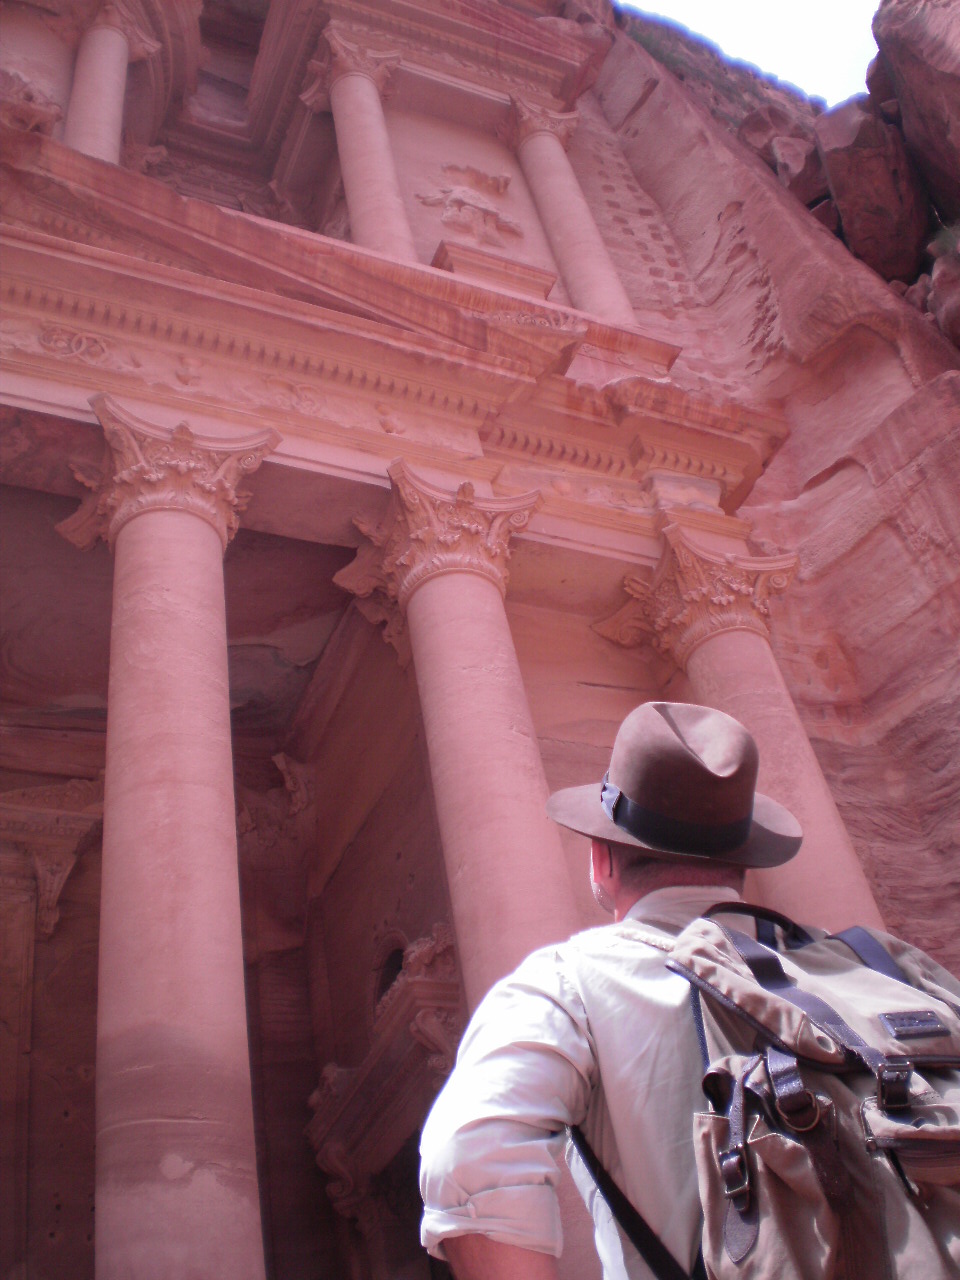
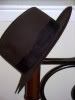
What hat shape are you going for? I made my blocks to achieve the Raiders look.
Step 1 - The wood. Use a type of wood that will not shrink or warp. Don't use pine. Just look up a wood that doesn't shrink or warp and take a look at your options. The wood should be like a 2x8 so that you will have enough to work with. You will end up stacking the wood up and gluing it together with wood glue. Make sure that you have enough wood to make it at least 7.5 inches tall. This will help with making sure you have enough space to work your brim if you get a brim block.
Step 2 - Take wire and wrap it around your head (or whoever you are making a hat for) to get the right head shape. Then you can trace the shape onto those boards.
Step 3 - Cut the wood. This can be really tricky if you don't have the right tools. A table saw, chop saw, jigsaw would all work for this part. Jigsaw would definitely help with precision cutting. Cut the shape out and as mentioned in the thread linked above, you want to make sure to leave the line you have drawn. And honestly I cut it out even a bit larger (Like an 1/8 of and inch) so that I could sand down to the correct size. I did this mostly because I wanted to make sure that the same came out correctly. Fortunately for myself, I have been doing carpentry work for about 4 years, so I have most of the necessary tools. However, when I made my blocks I did not and it took quite the problem solving to figure out how to do everything. If you don't have all the tools you think you'll need just try to borrow some from friends and make-shift some stuff if possible.
Step 4 - Glue the pieces together. Use liquid nails or titebond wood glue. Let the glue dry for about 24 hours
Step 5 - Drill hole on the bottom. The hole should be big enough to stick your thumb in. This will help you with leverage and being able to get your hat off the block after steaming it. It can be tricky otherwise.
Step 5 - Sanding. The shape of the block is a huge part of making sure you achieve the Raiders look. Getting it right is what this step is all about. If you look up an open crown of a Raiders Fedora from other venders you can get a good idea about what the block shape should look like. Here is an example from Advantage hats
https://shop.advintage.de/en/Harrison-F ... ble/10149M. I paid close attention to Fedoraiders hats because his Raiders hats are just about perfect and his understanding of every detail is incredible. Look him up on this site to get a good idea of what I mean. I found some pics of his blocks which was also helpful. Anyways, sand the block to the desired shape. You will probably want to use a palm sander or something like since there will probably be quite a bit of sanding to do. Check the size with a sewing tape measure to make sure you're not sanding down too much.
Step 6 - Coat it in Polyurathane. A couple coats would be good.
Step 7 - Send me some pics or post your process. I'd love to see how it turns out and if you need any more help/tips/critiques let me know.
Hope it goes well.
Cheers,
Indysdad
P.S. If anyone else has any thing they would like to add to that please do.